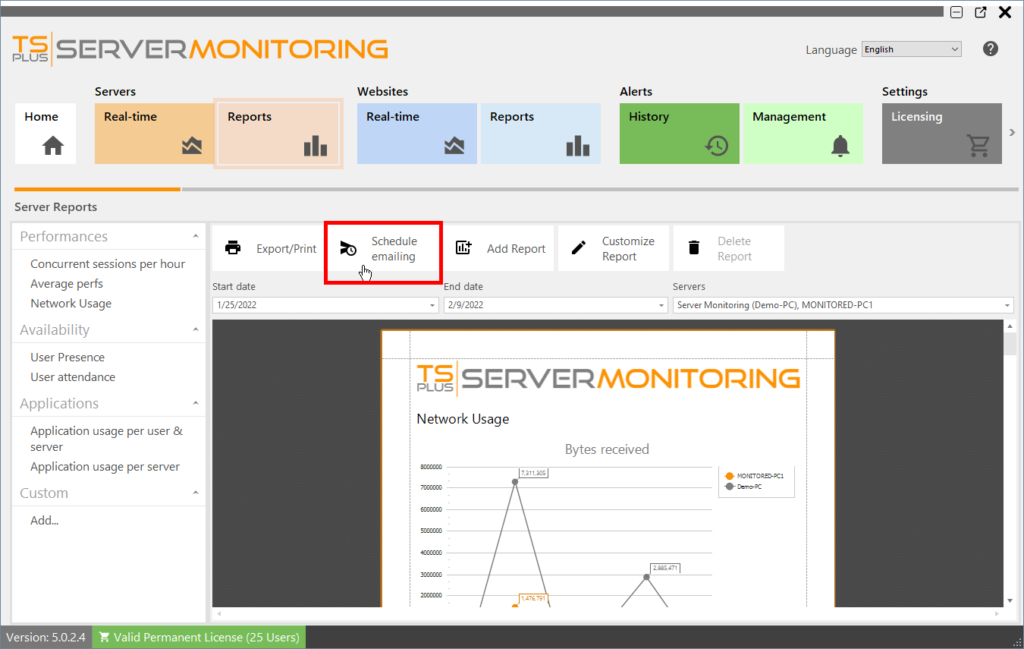
First select a report (website or server) by clicking a Server tile, then by choosing a report type in the left menu.

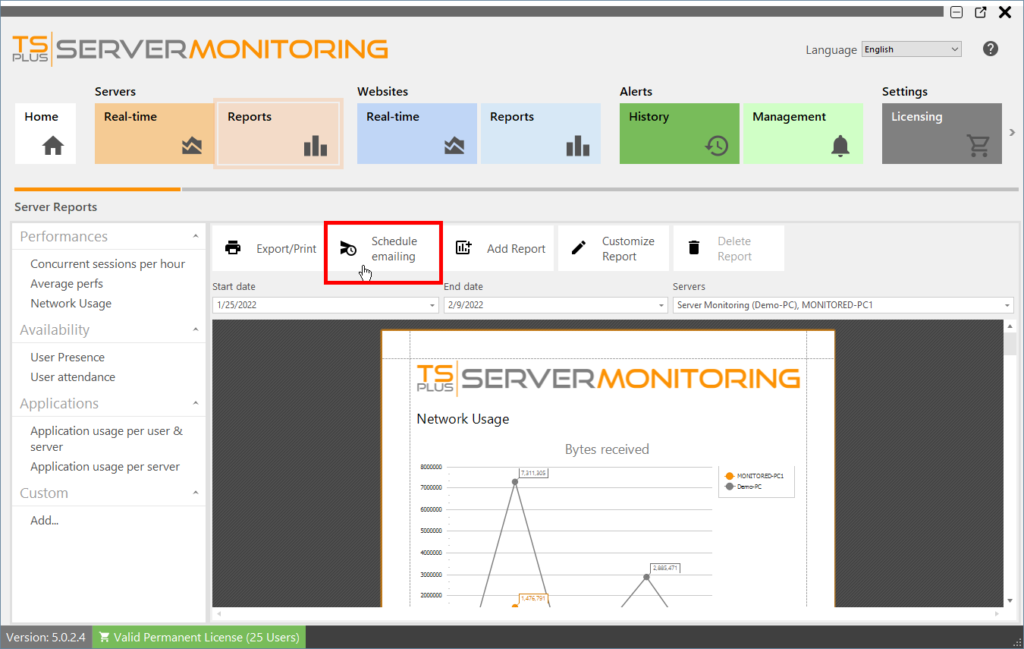
Click on the Schedule emailing button:

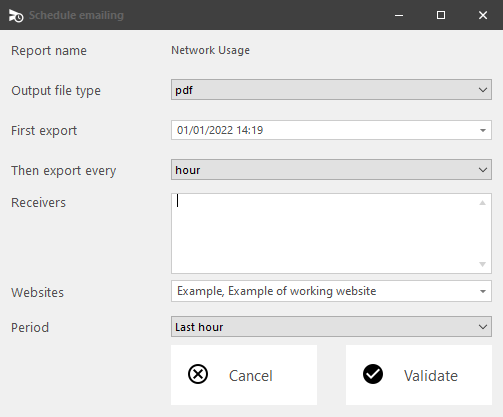
A new form will appear:

Just fill in the following fields:
- The output file type (PDF, Excel or HTML).
- The date of the first export.
- The export frequency (every hour / 4 hours / 8 hours / 12 hours / day / week / month).
- The email address(es) to send the report to. Please separate several email addresses with a comma.
- The server(s)/website(s) concerned by the report.
- The period of time for the report (last hour / last 4 hours / last 8 hours / last 12 hours / today / yesterday / last 7 days / last 30 days / last 90 days / last 180 days).
Click Validate to save the schedule.
To edit the schedule, click again on the Schedule emailing button.