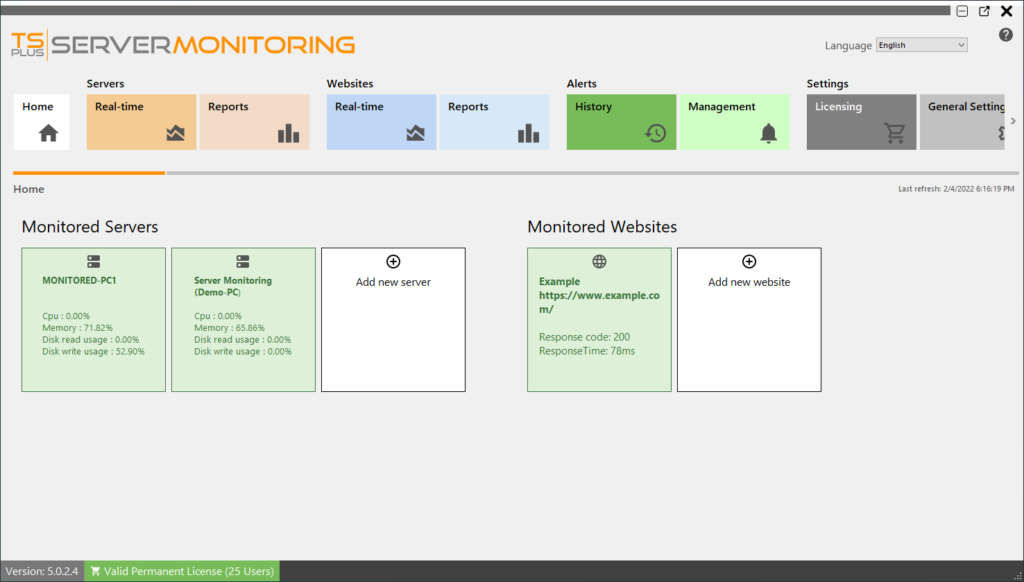
You can view, edit and remove monitored servers from the home screen.
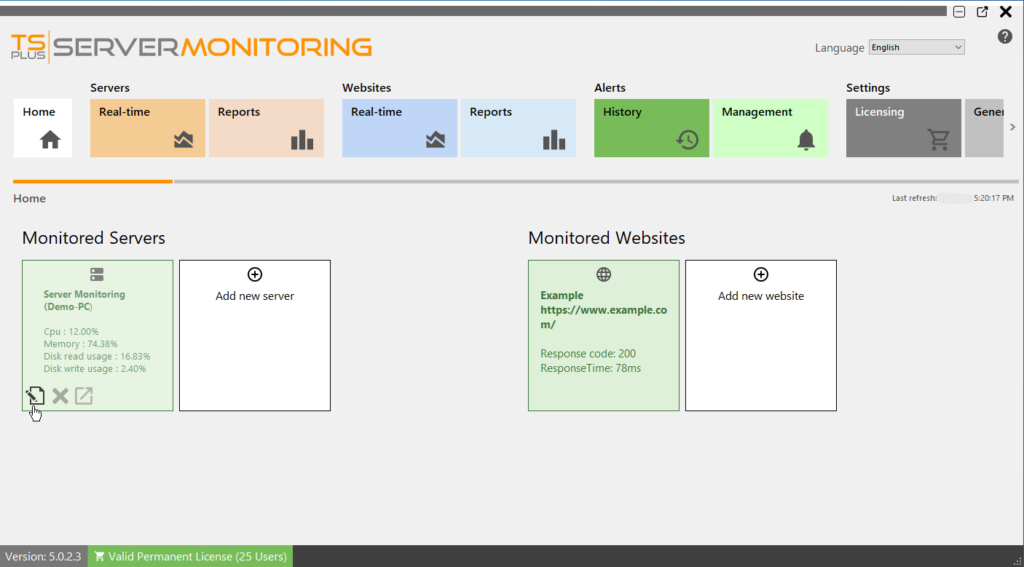
To edit a server, hover over the corresponding tile, and click on the edit icon:
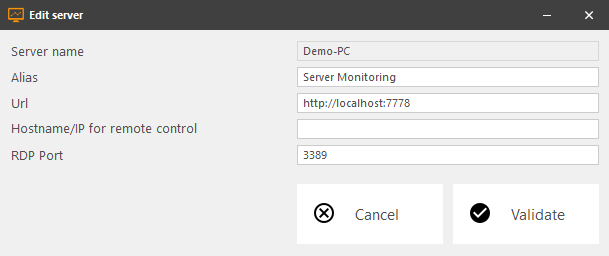
A dialog box will appear. Here you can edit:
- The alias of the server
- The Server URL
- The Server Hostname and IP address.
- The Server RDP port. By default, it is 3389
Click validate to save your changes.
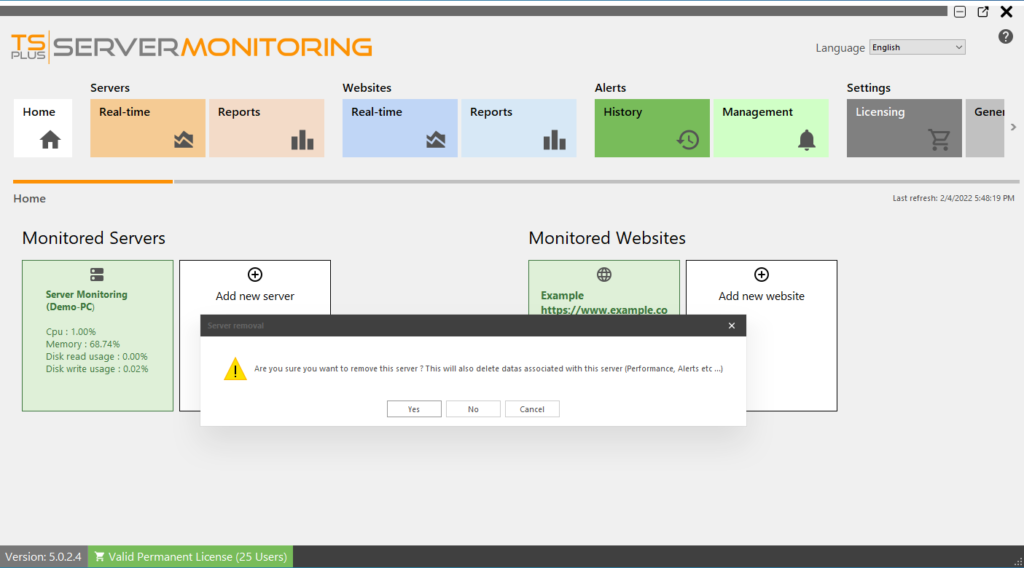
To remove a server, click on the X icon when hovering over the tile of the server you want to remove. You will be asked to confirm your choice. NOTE: deleting a server will delete all the data associated with this server: performance, user activity, alerts, etc…
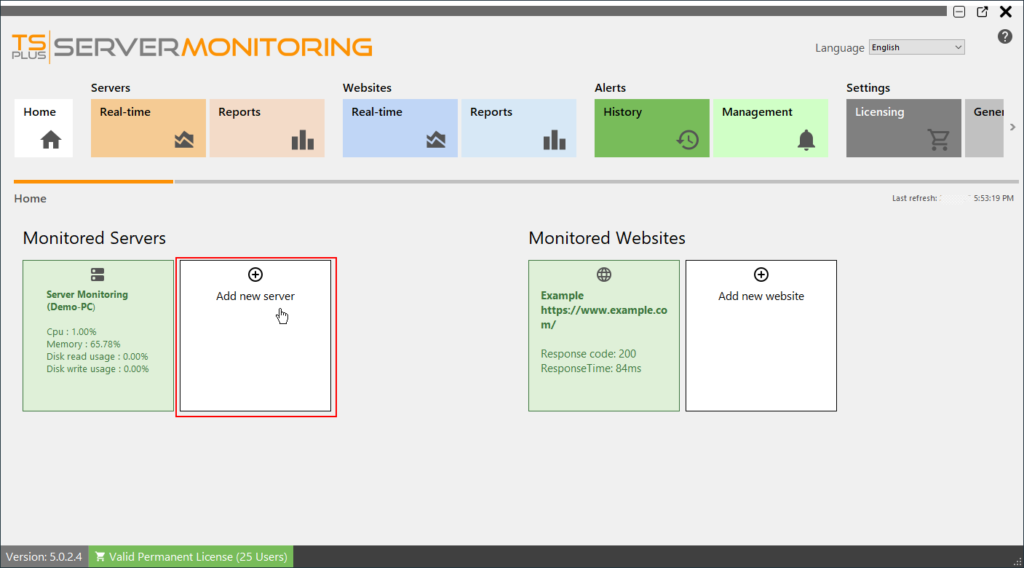
To add a new server, click on the “Add new server” tile, in home page:
Server Monitoring will present you with the options for adding a server:
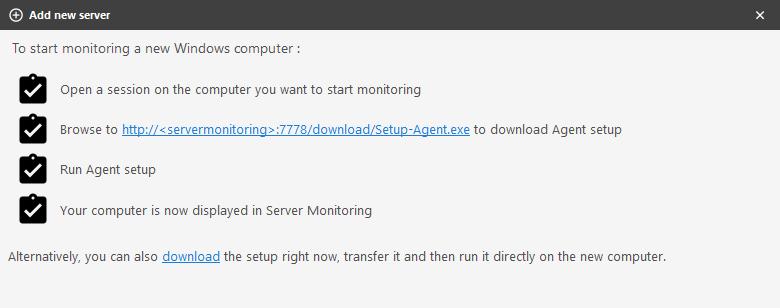
You have two different ways of adding a new server to monitor:
- Log in to the server you would like to monitor and browse to: http://YourMonitoringServerUrl:7778/download/Setup-Agent.exe
- you also can directly download the agent and send it to the server you would like to monitor.
You can now launch the Setup-Agent.exe file, and install it.
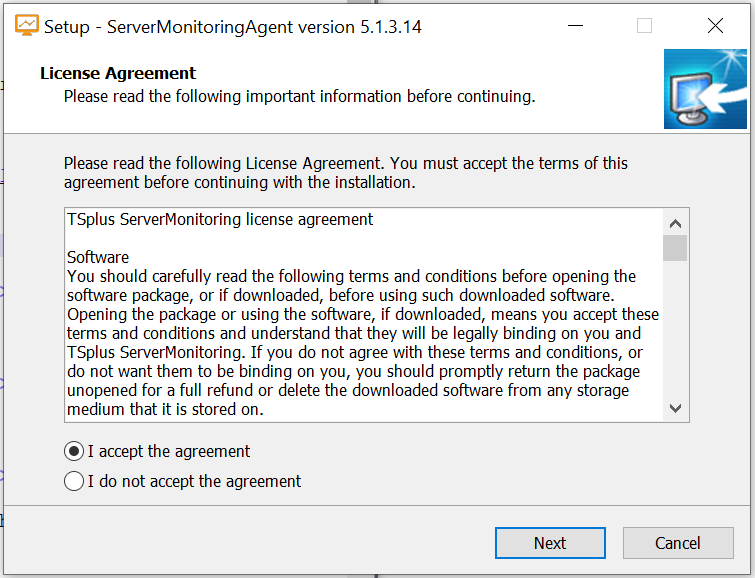
Accept the license and click on next
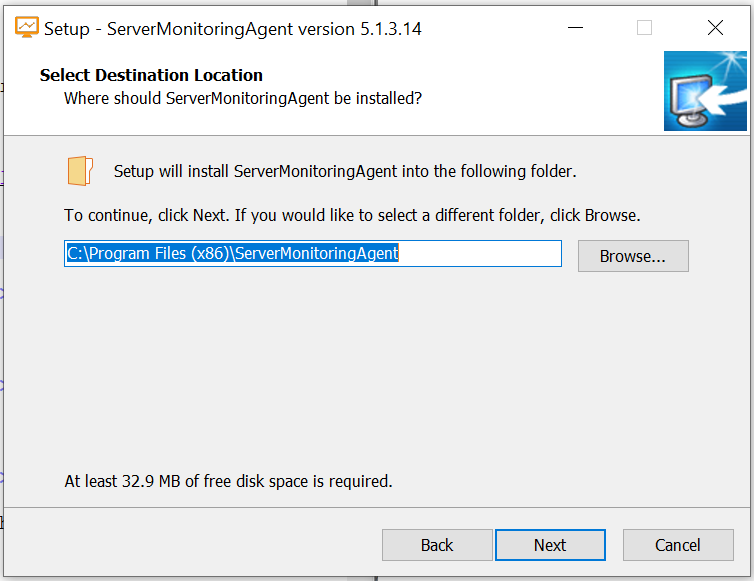
Here you can change the location of the files installed.
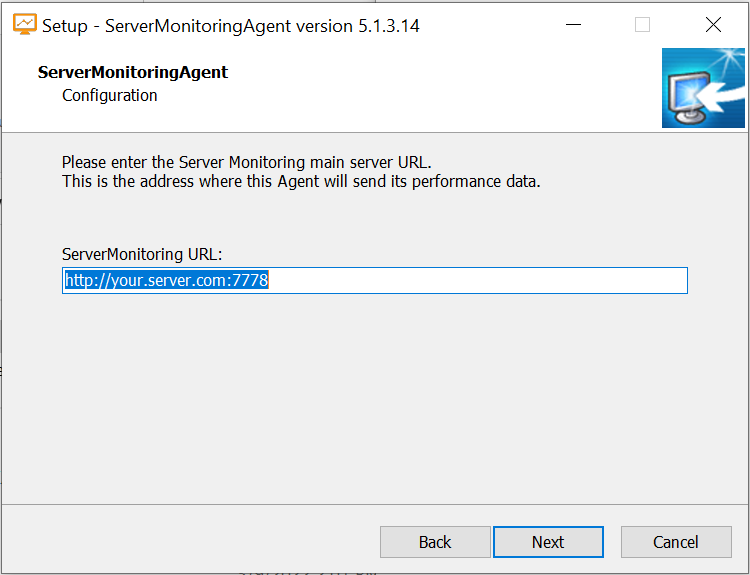
Enter the url of the main server where Server Monitoring is installed. Do not change the port number (7778). Then click on next. The Agent install only takes a moment.
The server you just added will appear in your monitored servers list shortly. Don’t be alarmed if the new server appears offline.
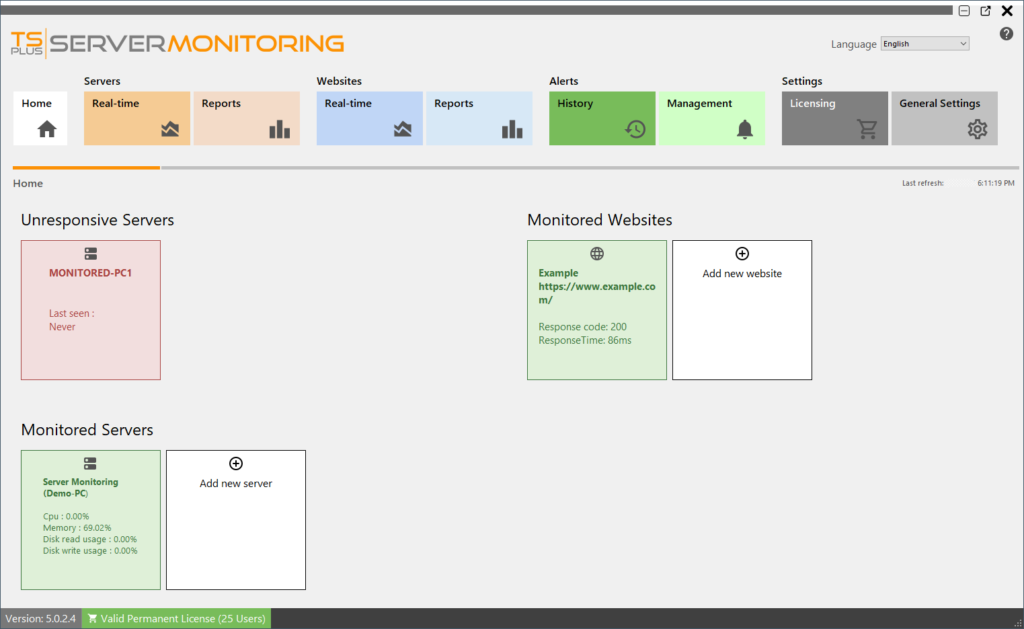
After a few moments of data collection on the new server, it will appear active and online in Server Monitoring
