Step 1: Installing ServerGenius on your computer
Installing ServerGenius is an easy process.
Just download it from our web site, run the Setup-ServerGenius.exe and follow the steps detailed here.
Files are decompressed and copied into:
- “C:\Program Files\RDS-Tools\ServerGenius” folder (32 bit systems)
- “C:\Program Files (x86)\RDS-Tools\ServerGenius” folder (64 bit systems).
The trial version is a full featured version limited to 2 weeks.
After the installation, there will be a new icon on your Desktop:

Step 2: Checking your Installation
On your server, start an Internet browser (such as Chrome, Firefox or Internet Explorer).
Browse to http://localhost:7777 by default, or change the “7777” part with the port you have chosen during the installation.
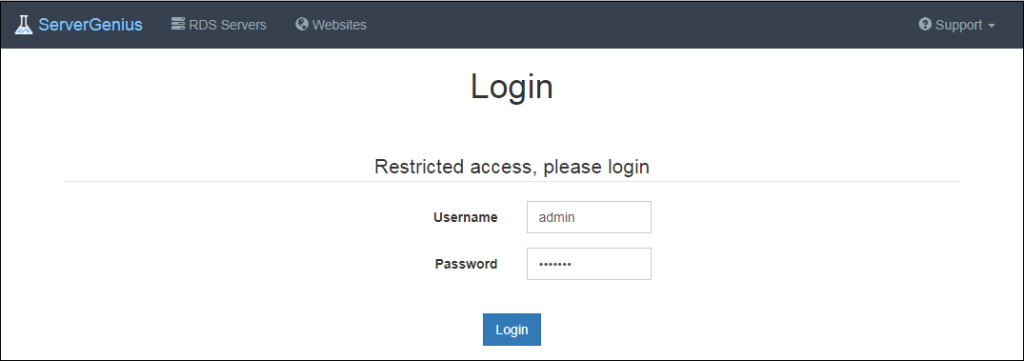
If everything has been installed and configured properly, then you should have a web page such as the one below:

If this page is not displayed, please contact our Support team.
By default, the login is admin, password admin which you can then change by modifying the Settings on the Administration tab.
Step 3: Connecting Remotely to your Server’s Reporting & Monitoring web interface
You can now connect to ServerGenius web interface from virtually any device (your computer or laptop, your tablet, your mobile phone…).
All you have to do is to browse to http://yourserver:7777 (using your server’s domain name or public IP address).
Next steps
We advise all our customers to read TSplus documentation online.
Do not hesitate to contact us if you have questions or feedback about ServerGenius and/or this quick-start guide.