Overview features
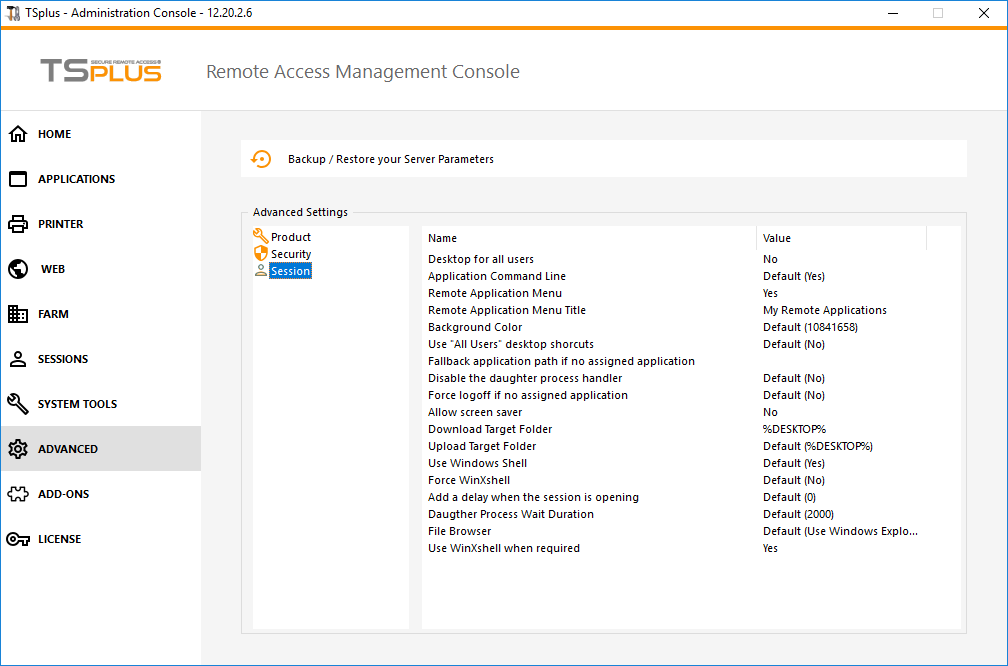
This section of the Advanced feature tab allows you to configure user rights and aspects on their sessions.
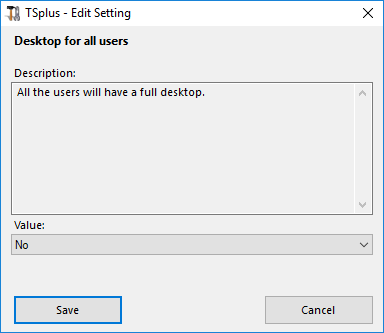
Desktop features for all users
Enable a full Desktop for all users by selecting the “Yes” value on this window, then click on save:
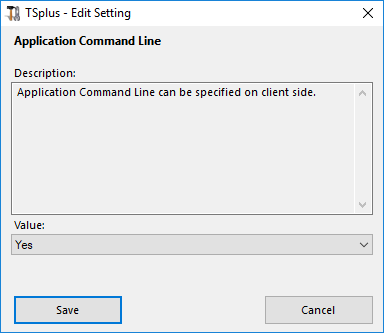
Application Command Line
Application Command Line can be specified on client side. This Advanced feature is enabled by default. If you wish to disable it, select the “No” value on this window, then click on save:
Remote Application Menu
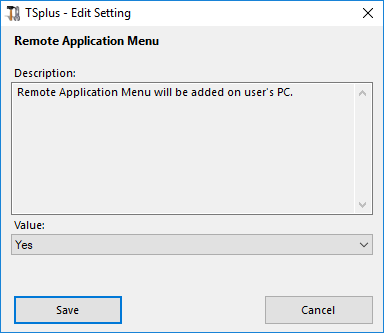
Remote Application Menu will be added on user’s PC. This Advanced feature is enabled by default. If you wish to disable it, select the “No” value on this window, then click on save
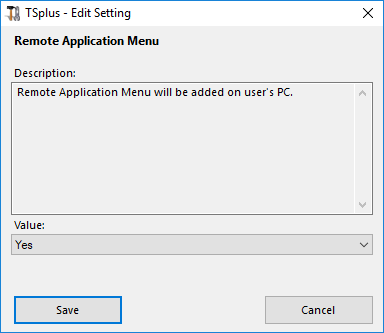
Remote Application Menu Title
You can modify the title of the Remote Application Menu. The default one is “My Remote Applications”. If you wish to modify it, enter the desired title, then click on save:
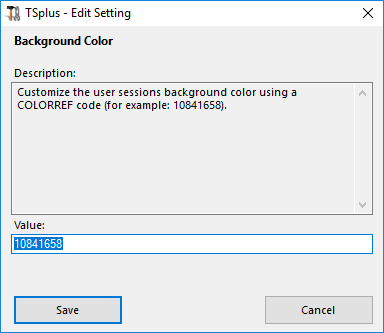
Background color
Customize the user sessions background color using a COLORREF code (for example, the default one is: 10841658).
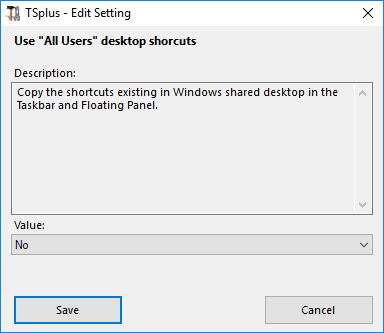
Use "All Users" desktop shortcuts
Copy the shortcuts existing in Windows shared desktop in the Taskbar and Floating Panel. Enable this feature by selecting the “Yes” value on this window, then click on save:
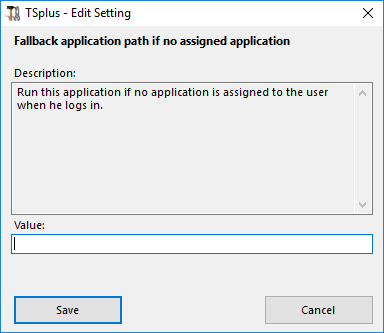
Fallback application path if no assigned application
Run this application if no application is assigned to the user when he logs in. There is no value by default. Enable this feature by entering a “Yes” value on this window, then click on save:
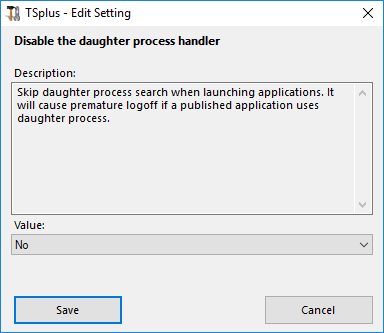
Disable the daughter process handler
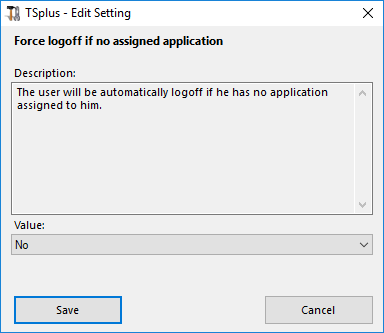
Force logoff if no assigned application
The user will be automatically logoff if he has no application assigned to him. This feature is disabled by default. Enable this feature by selecting the “Yes” value on this window, then click on save:
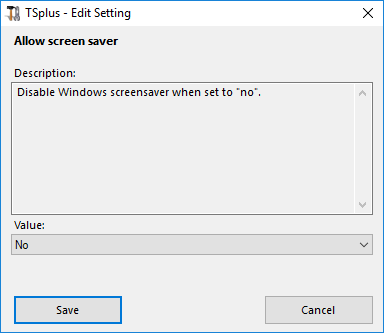
Allow screen saver
This feature is disabled by default. Enable Windows screensaver by selecting the “Yes” value on this window, then click on save:
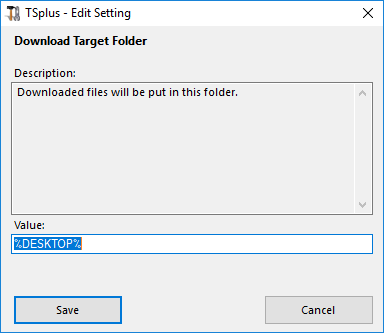
Download target folder
Downloaded files will be put on the Desktop by default. If you wish to modify it, enter the desired download folder’s path, then click on save:
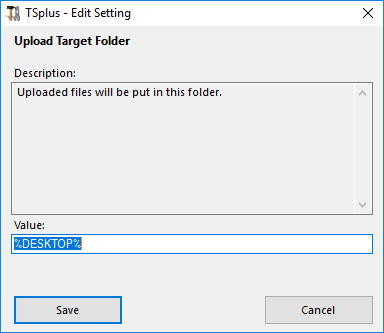
Upload target folder
Uploaded files will be put in this folder. If you wish to modify it, enter the desired upload folder’s path, then click on save:
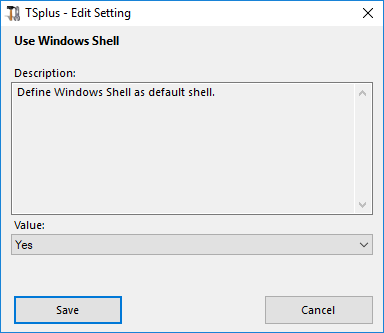
Use Windows Shell
Define Windows Shell as default shell. This feature is enabled by default. If you wish to disable it, select the “No” value on this window, then click on save:
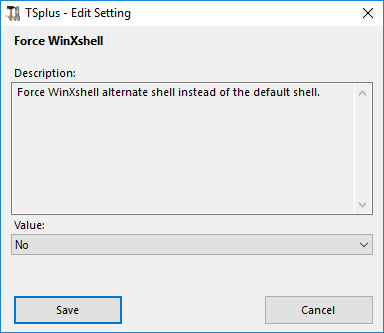
Force WinXshell
This feature is disabled by default. Force WinXshell alternate shell instead of the default shell by selecting the “Yes” value on this window, then click on save:
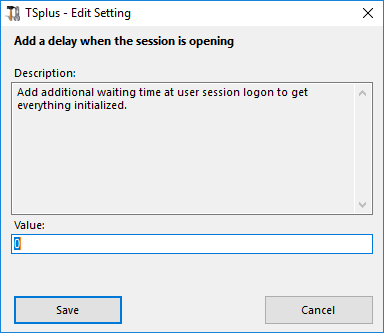
Add a delay when the session is opening
Add additional waiting time at user session logon to get everything initialized. Default value is 0. If you wish to modify it, enter the desired value (in seconds), then click on save:
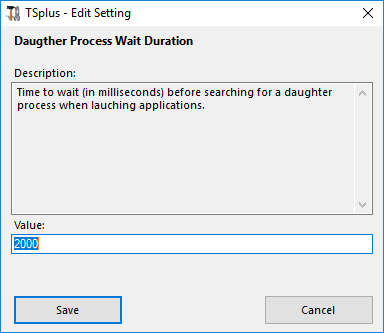
Daughter process wait duration
Time to wait (in milliseconds) before searching for a daughter process when lauching applications.
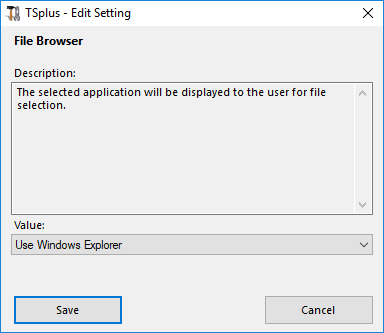
File browser
The selected application will be displayed to the user for file selection. Default browser is Windows Explorer. You can use the TSplus file browser by selecting it, then click on save:
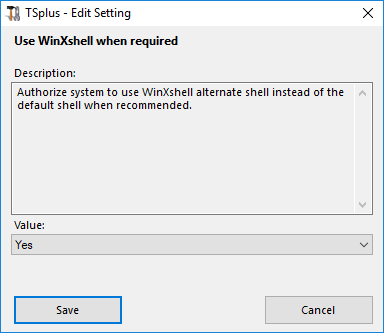
Use WinXshell when required
Authorize system to use WinXshell alternate shell instead of the default shell when recommended. This feature is enabled by default. If you wish to disable it, select the “No” value on this window, then click on save:
