HTML5 Client: Using File Transfer
Use the top menu for file transfer:

Unlike real RDP session the browsers do not allow to access the hard drives directly, the file transfer is emulated.
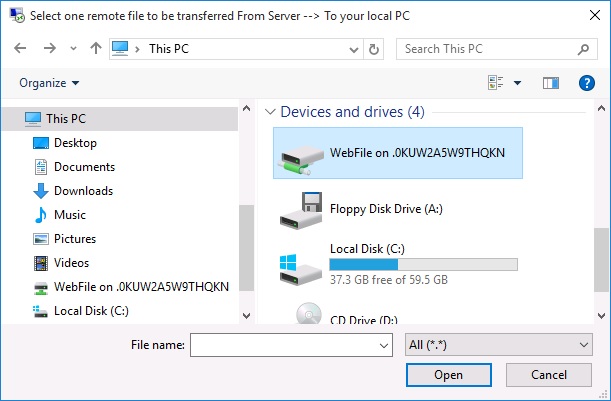
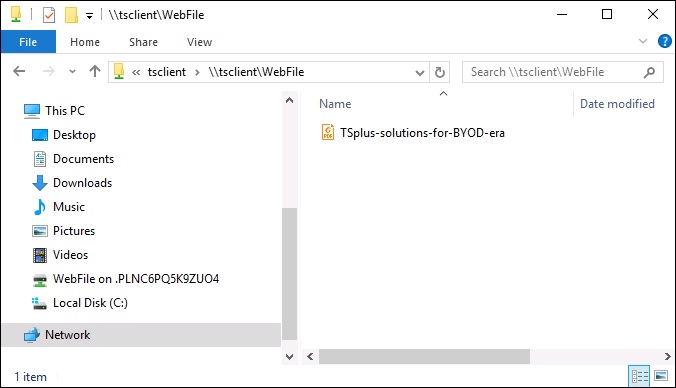
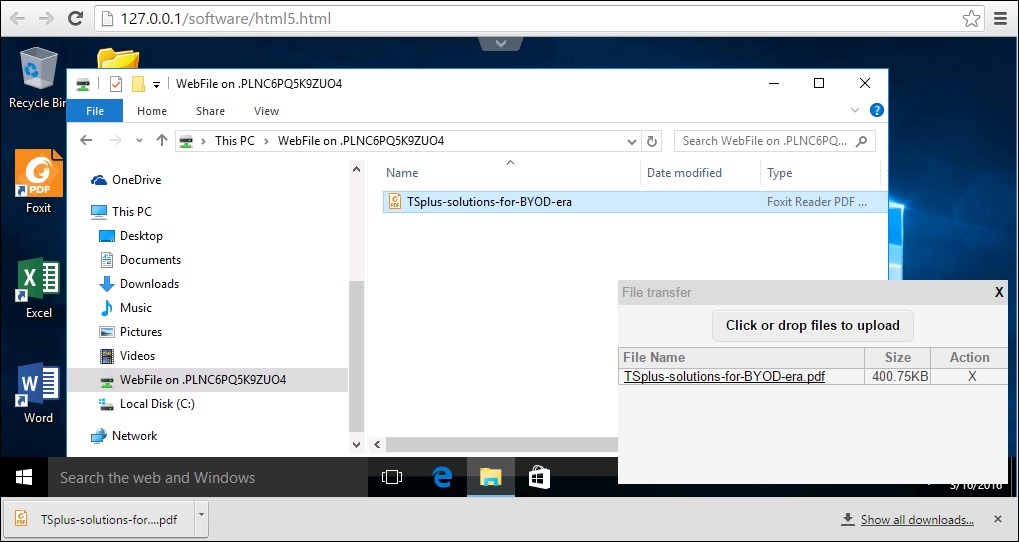
The sub-folder of gateway gets mounted as a WebFile device into your RDP session. Inside the RDP session you can access it via Explorer by clicking on “WebFile” or call “\\tsclient\WebFile” directly:
There are three different ways to transfer a file:
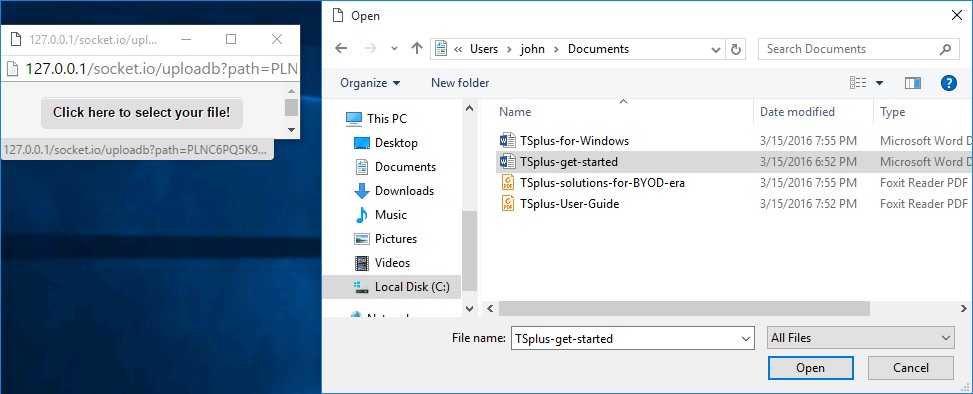
- From the local computer to the server:
- From the server to the local computer:
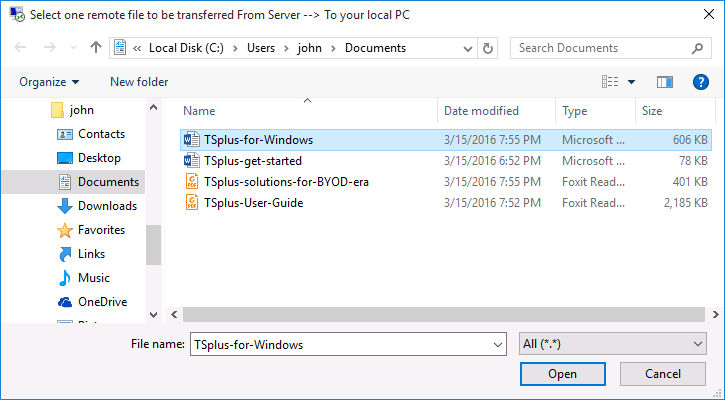
- The file manager which enables you to transfer files from the local computer to the server, with an history of the transferred files:
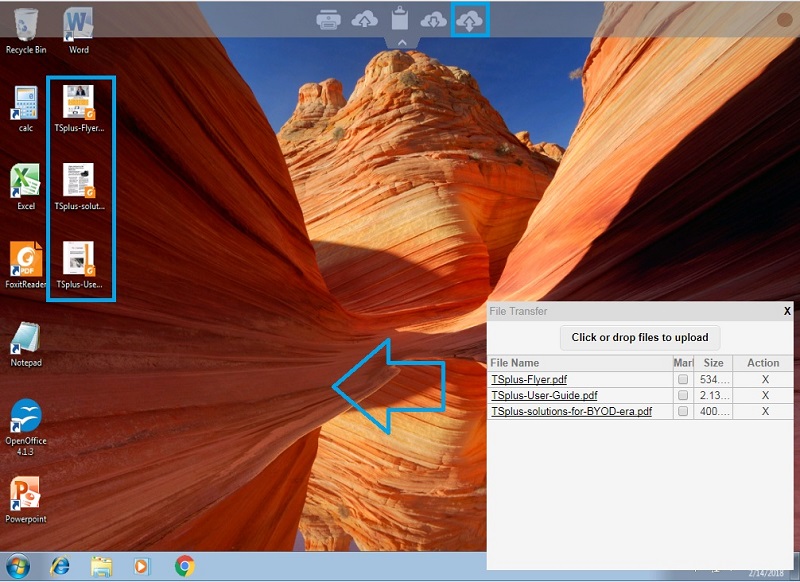
On the browser side the files are showed inside the browser’s list menu. It can be opened via action menu or with Shift + F12.
- When you copy files with Explorer into the WebFile folder, this triggers automatically the event about the creation of a new file in the WebFile folder and the browser menu opens/refreshes automatically to show the new file:
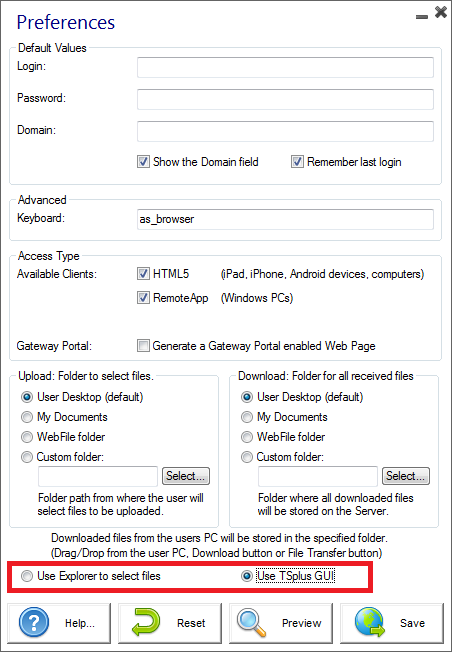
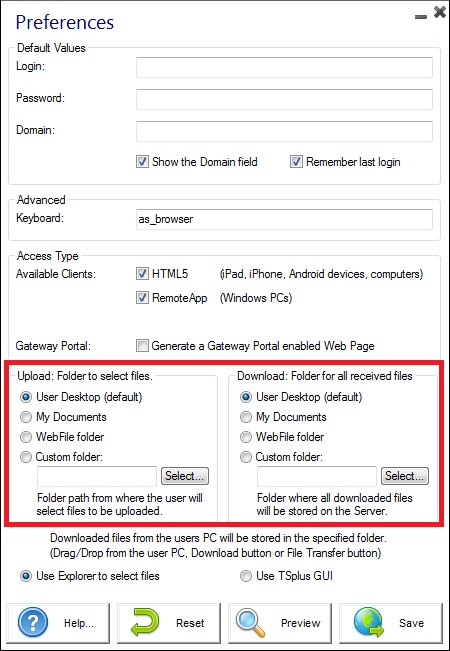
When using a custom folder, make sure this folder exists on client and server sides. You can set the upload/download destination folder on the Web Portal preferences tile on the web tab of the Admin Tool:
If you want to avoid this behavior, set the following line on the setting.js file which path is by default: C:\Program Files (x86)\tsplus\Clients\www\software\html5\settings.js :
dropboxonnewfile = 0;
Additionally you can set:
sharedfolder = "yes";
to show shared folder and share your files with other users (disabled by default).
If you do not have a file named “settings.js” in the “C:\Program Files (x86)\TSplus\Clients\www\software\html5” folder, then your TSplus version is older and this documentation does not apply. Please update your system first or contact support.
- By default, explorer is used to transfer files. You can also directly download your files from server to client by checking the “use TSplus GUI”, and copy any files into the webfile folder:
